

Installing a GNU/Linux environment on your android device can enhance and increase its productivity. Although the Android OS runs on the same Kernel as GNU/Linux, the two Operating systems run on different programs.
A common caveat of android apps is that they are sometimes more limited when compared to desktop apps for example, and one way to get around that is installing a GNU/Linux environment, which can be applicable on rooted or non-rooted devices. This guide assumes a non-rooted device is being used.
GNU/Linux Setup on Android
To Set up a GNU/Linux environment you will need to download GNURoot Debian and Xserver XSDL followed by applicable Linux commands to complete the process.
GNURoot allows you to create a Linux environment within a host OS. Normally you would need Linux’s “Chroot” functionality to do this however, GNURoot uses “proot” a software that allows you to achieve the same function without proot privileges.
The purpose of Xserver XSDL, is to provide an application that GNURoot connects to. An X server is needed to run software that is heavy on graphics.
Xserver XDSL provides options for customizing things like display resolution.
How To Install GNU/Linux on Android Device
2. After the download is completed run GNURoot Debian, however watch-out for a “root” shell, which is a fake root shell running in Andriod application sandbox, so ignore it.
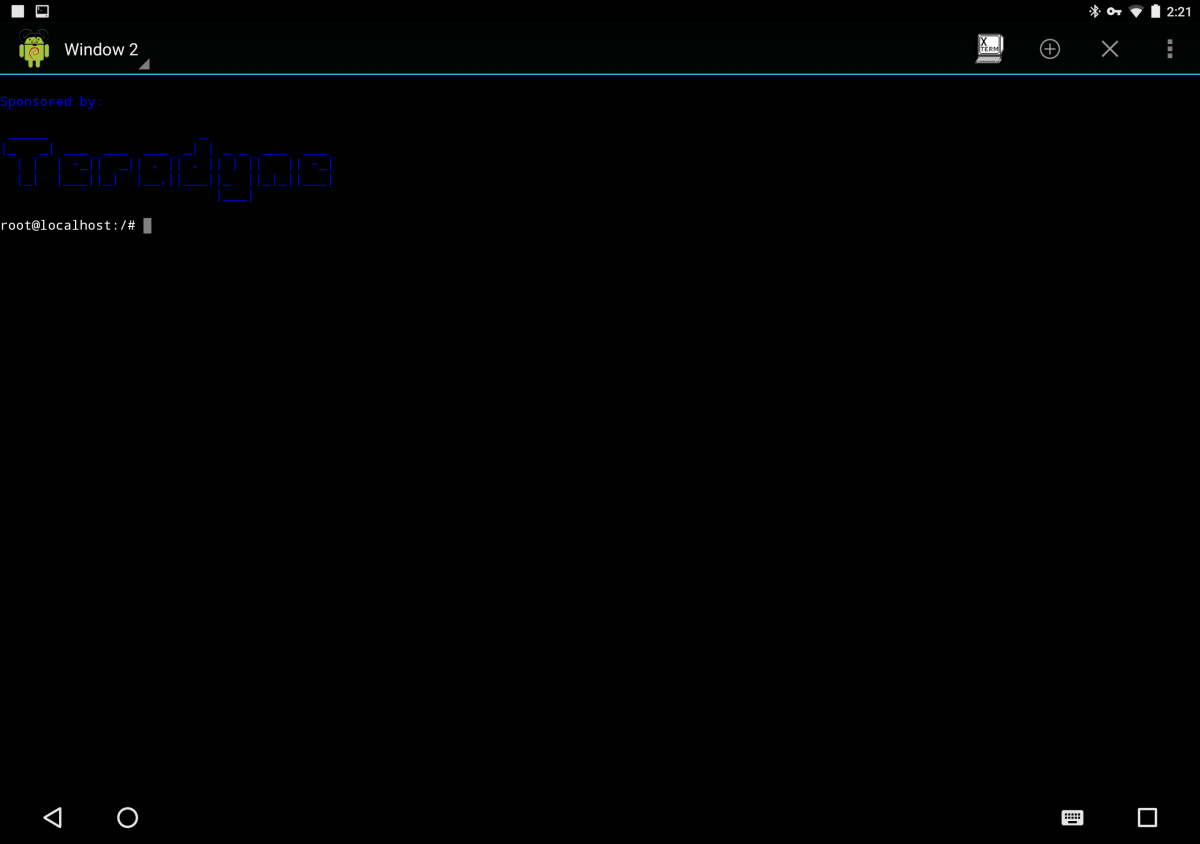
Linux Shell on Android
3. To ensure you have the most recent upgrades run “apt-get update and apt-get upgrade”. You will need Apt-get to install software in a Debian/Ubunu Linux environment.
$ sudo apt-get update
$ sudo apt-get upgrade
4. The next step is to install a graphical environment. You can do this by running “apt-get install lxde” for the environment with all the tools, alternatively you can run “apt-get install lxde-core” for just the desktop environment.
$ sudo apt-get install lxde
$ sudo apt-get install lxde-core
5. What is left now is a way to provide access to the terminal when in a graphical environment, a software called XTerm is used for this.
Use Bluetooth Tethering to Connect Ubuntu to Android's WiFi
$ sudo apt-get install xterm synaptic pulseaudio
6. As a final step start xServer XSDL and download all fonts then go back to GNURoot to run these commands:
$ sudo export DISPLAY=:0 PULSE_SERVER=tcp:127.0.0.1:4712
$ sudo startlxde &
After this, revert back to XServer XSDL and wait for the LXDE desktop.
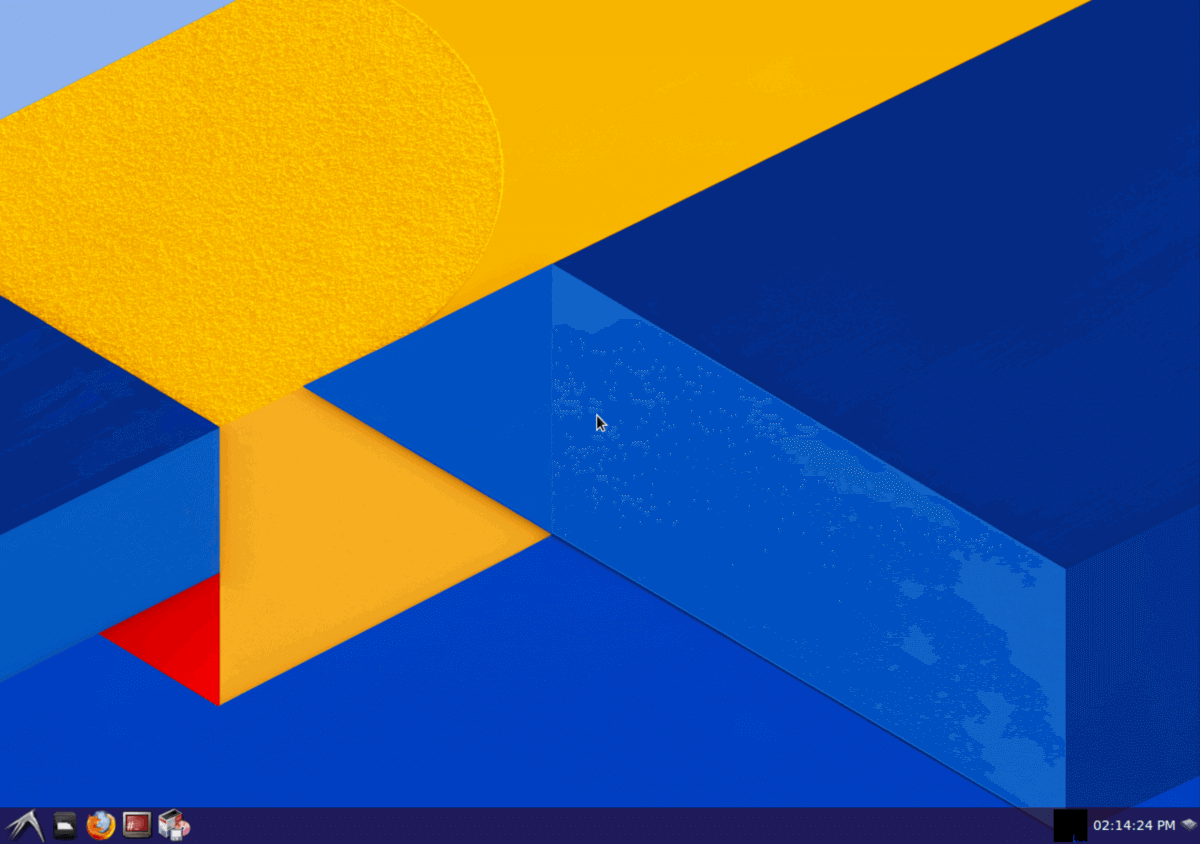
Running LXDE Desktop on Android
Installing Linux Applications on Android
Now that you have Debian Linux on your Android device you will need apps to enjoy it fully. To access the large repository of Linux apps use the Synaptic Package Manager previously installed.
Access Run from the start menu and type in “synaptic”. Press the search button when the Synaptic Package Manager opens and key in the name of the app you are looking for then mark it for installation.
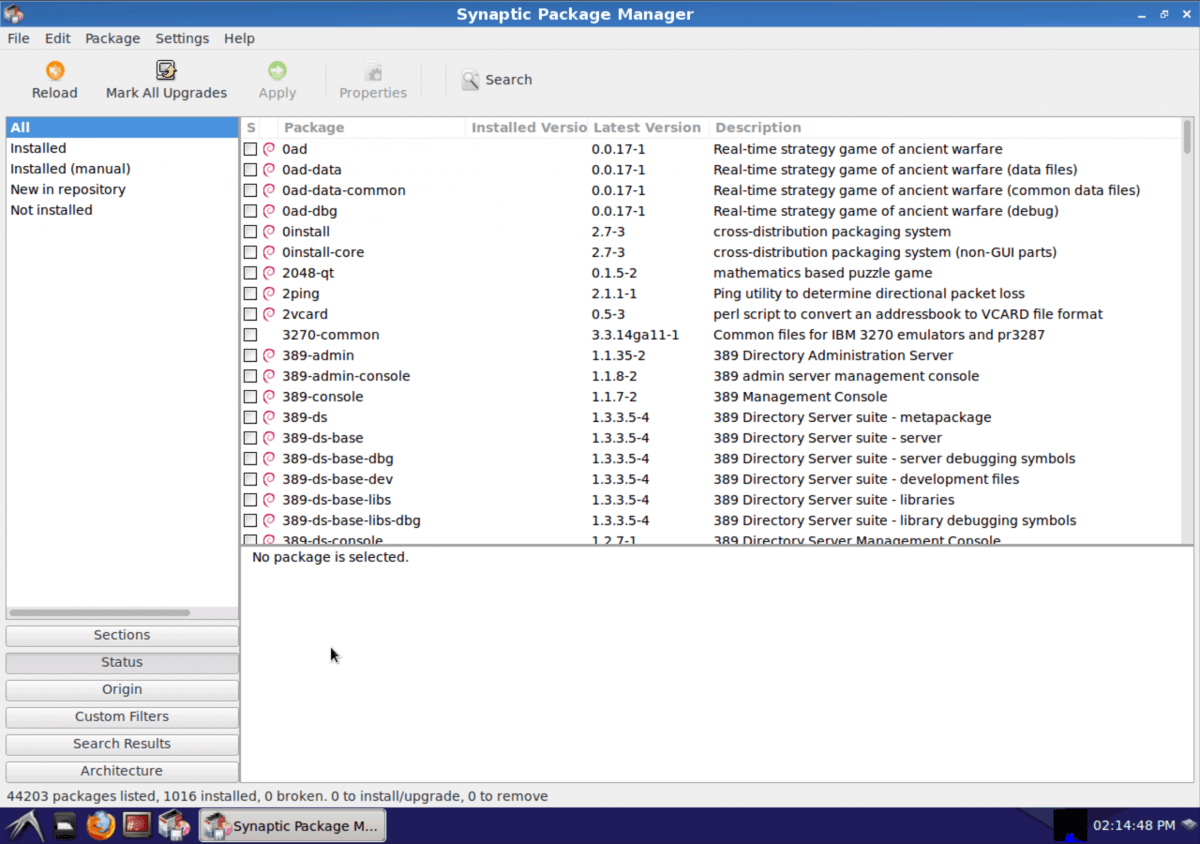
Synaptic Package Manager
Images credit: xda-developers
With your apps installed, you are finally good to go! Remember however, that because this is a Linux environment running within Android, it will not run as seamlessly as you would expect from the whole Linux package, some apps may not run at all. Also, android apps do not necessarily work differently within a Linux environment so don’t expect more than the usually from your android apps
it is also important to remember that some games will not work especially those requiring hardware acceleration But all in all, most apps and simple games will work just fine!
We hope you find this guide easy to follow, let us know if you have any comments, tips or suggestions or simply to let us know you successfully installed Linux on your Android device with these guidelines!


